


GIMP Script: Planet Render
A planet creation script, it can be downloaded here.
It allows to create a planet lit on one side. The size and color of the planet as well as the angle for the light can be set
Versions :
planet-render1-1.scm :
- For GIMP 2.2. Under the Xtns> Script-fu> Misc> Planet render menu.
planet-render1-2.scm :
- For GIMP 2.4. Under the Xtns> Script-fu> Misc> Planet render menu.
- For GIMP 2.6 and above. Under the Create> Misc> Planet Render menu.
Planet creation script
This is a short explanation on how to use the planet creation script in order to get the best results.
First, put the script in the scripts directory used by GIMP ( in general ~/.gimp-X.X/scripts/, or any other directory you might have set as the a script directory in the Gimp preferences.)
Then the script should be accessible in the Create> Misc> Planet Render menu (or Xtns> Script-fu> Misc> Planet render menu, depending on your version of GIMP. See above. ).
About the script parameters:
- The image will be slightly bigger than the planet size, because of the halo. (BTW, try to avoid images too big (around 2000px) because then the script may become very slow, and sometimes if it really too big it won't work :/)
- Choose preferably a dark color for the planet, that's what gives the better images.
- The sun orientation is in degrees (from 0° to 360°) and clockwise.
- The sun tilt can be set from 0 to 5. Zero makes an almost completely dark planet, while 5 gives a half lit planet.
Examples:
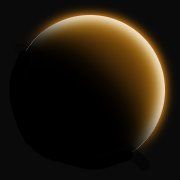
 The default planet, without background.
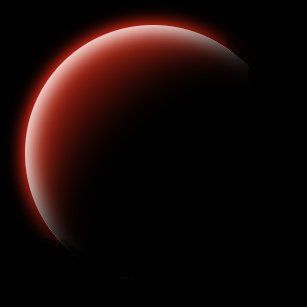
 Sun Tilt = 5, and sun orientation = about 45°. (+ a black background I added)
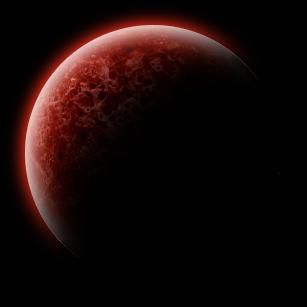
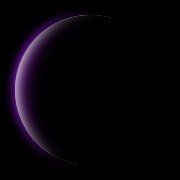 Sun Tilt = 0, and sun orientation = about 270°. (+ a black background I added)
In order to make the planets more realistic, you could add a texture to them.
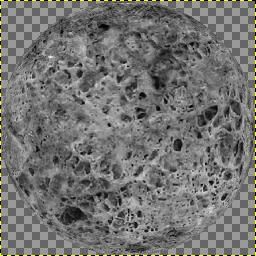
Take (or create) a texture image rather granular, and approximatively twice the size of the planet you want to create.
For example this image (thanks to TiZeta for the image).
Open the image in the Gimp, and in the layers dialog, do a right-click on the background layer and choose "Add Alpha Channel". (or in the image menu: Layer> Transparency> "Add Alpha Channel").
Then, in the image menu, select Filters> Glass Effects> Apply Lens. In the dialog box of this filter, choose "Make surroundings transparent" and set the Lens refraction index to about 1.6
The texture should now look like it's mapped onto a sphere, with the center of the image looking "stretched". Scale the image by about 0.5 to make the strech effect dissapear. Then desaturate the image (Colors> Desaturate). You should now have something looking like this
With the script, create a planet that is the same size as your texture (here 256pixels - black background added after)
Paste the layer with the texture on the planet image, and place it between the "planet atmosphere" layer and the "planet base" layer.
Then, set its mode to "Grain Merge" (or any other mode that you think that could fit, the best is to try all the modes). That's all :)
Here is an example of some planets I created and included into a space scene.
-----------

This work is licensed under a
Creative Commons Attribution-Share Alike 3.0 Unported License.


/http%3A%2F%2Fstorage.canalblog.com%2F51%2F39%2F574603%2F44002434_o.png)
/http%3A%2F%2Fstorage.canalblog.com%2F61%2F65%2F574603%2F36143959_o.png)